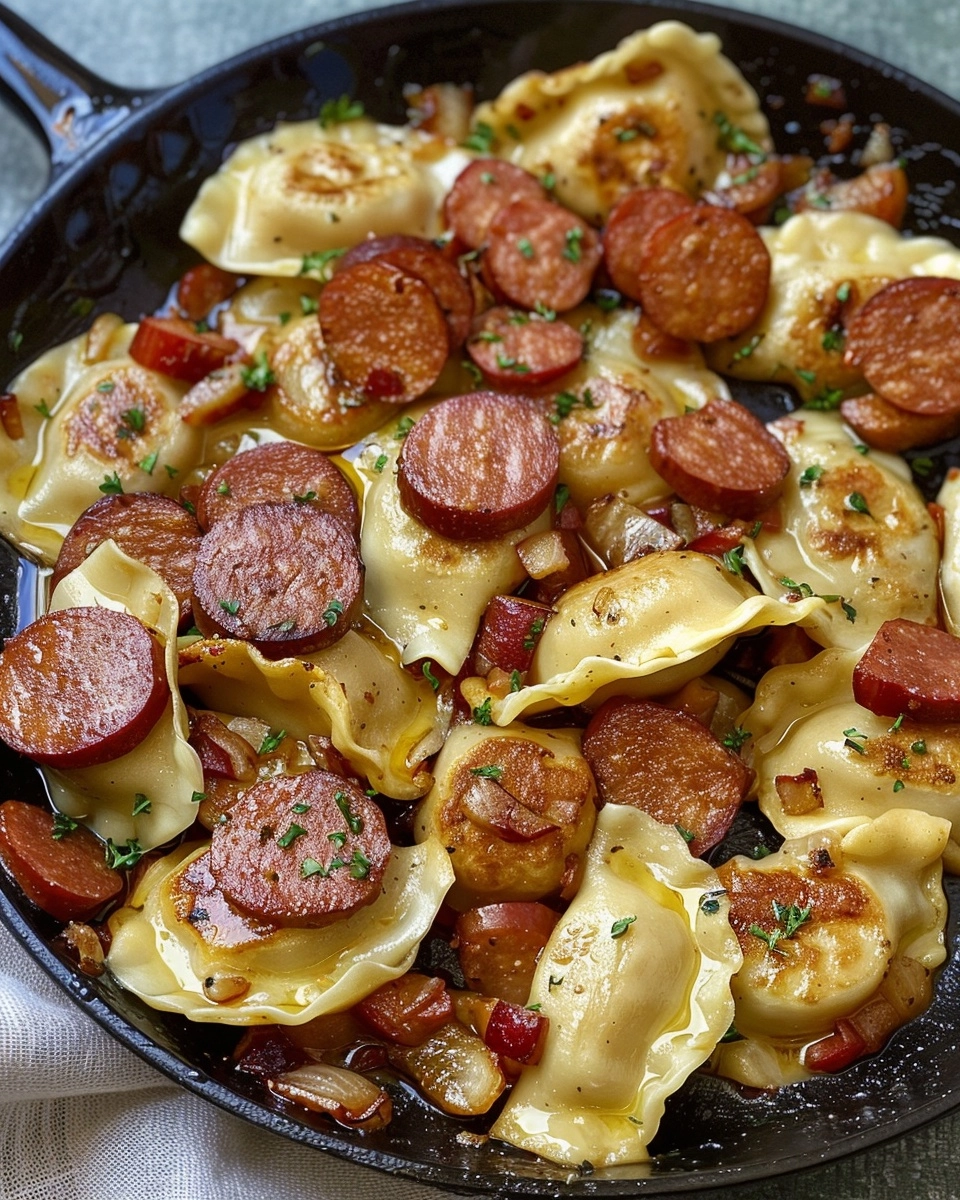
Smoky, buttery, and satisfying, this Pierogies and Kielbasa recipe is a quick, comforting dinner perfect for weeknights or hearty family meals.
Ingredients You’ll Need
The beauty of Pierogies and Kielbasa is in its simplicity—each ingredient plays a pivotal role, delivering big flavor with very little effort. Here’s what you’ll need, along with a few easy tips for each:
- Frozen pierogies: These delightful dumplings are the star; choose your favorite flavor for a personalized twist.
- Olive oil: Gives a subtle richness to help caramelize the onions and crisp the pierogies.
- Butter: Adds buttery depth and helps brown everything beautifully.
- Onion: Thinly sliced, it caramelizes down to a soft, sweet base for this dish.
- Smoked kielbasa: Go for a high-quality sausage—its smokiness is essential for big flavor.
- Salt and pepper: Simple, but absolutely crucial for balancing and finishing the flavors.
- Sour cream (optional): Cool and tangy, it’s the perfect creamy topping for your pierogies and kielbasa.
- Chopped parsley (optional): A sprinkle of green to brighten up each plate.
How to Make Pierogies and Kielbasa
Step 1: Start with the Base
Heat a large skillet over medium heat and add both your olive oil and butter. Let them melt together until the butter sizzles gently—this flavorful duo creates the foundation for the whole dish.
Step 2: Caramelize the Onions
Toss in your thinly sliced onion and cook, stirring occasionally, for about 8 to 10 minutes. You’re looking for that sweet spot where the onions turn golden and deeply fragrant, developing a subtle sweetness as they caramelize.
Step 3: Brown the Kielbasa
Push the onions to one side of the skillet, then add those luscious rounds of smoked kielbasa. Let them cook for 5 to 7 minutes, turning every so often, until the edges are irresistibly crisp and bronzed. The sausage picks up flavor from the onions and butter as it cooks.
Step 4: Cook the Pierogies
While the kielbasa is in the skillet, cook your frozen pierogies per the package instructions—some prefer boiling, while others go straight to pan-frying. If boiling, be sure to drain them thoroughly before the next step.
Step 5: Bring It All Together
Add cooked pierogies right into the skillet with your tender onions and browned kielbasa. Gently stir and let everything sizzle together for 3 to 4 minutes, until the pierogies get a light crisp and all the flavors meld.
Step 6: Final Seasoning
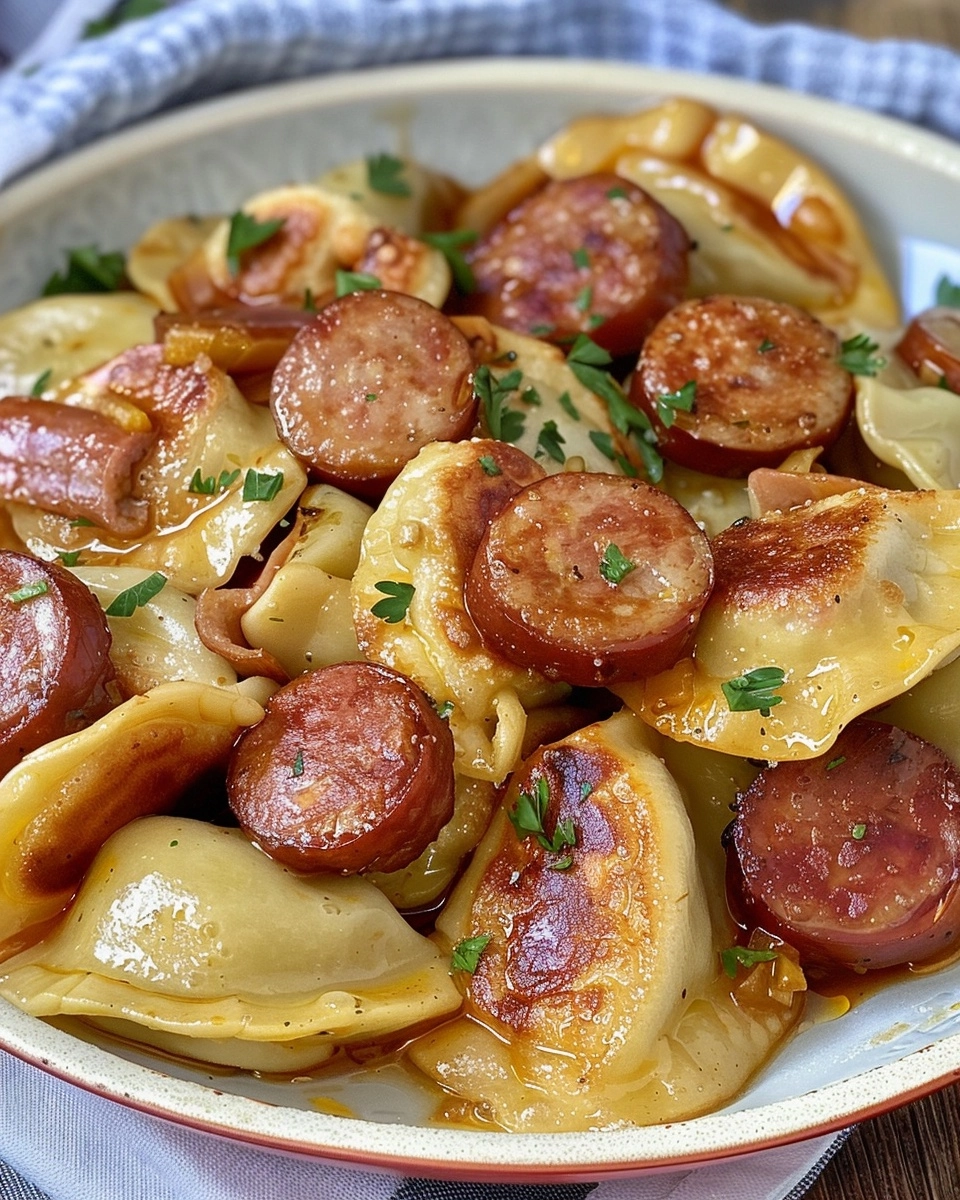
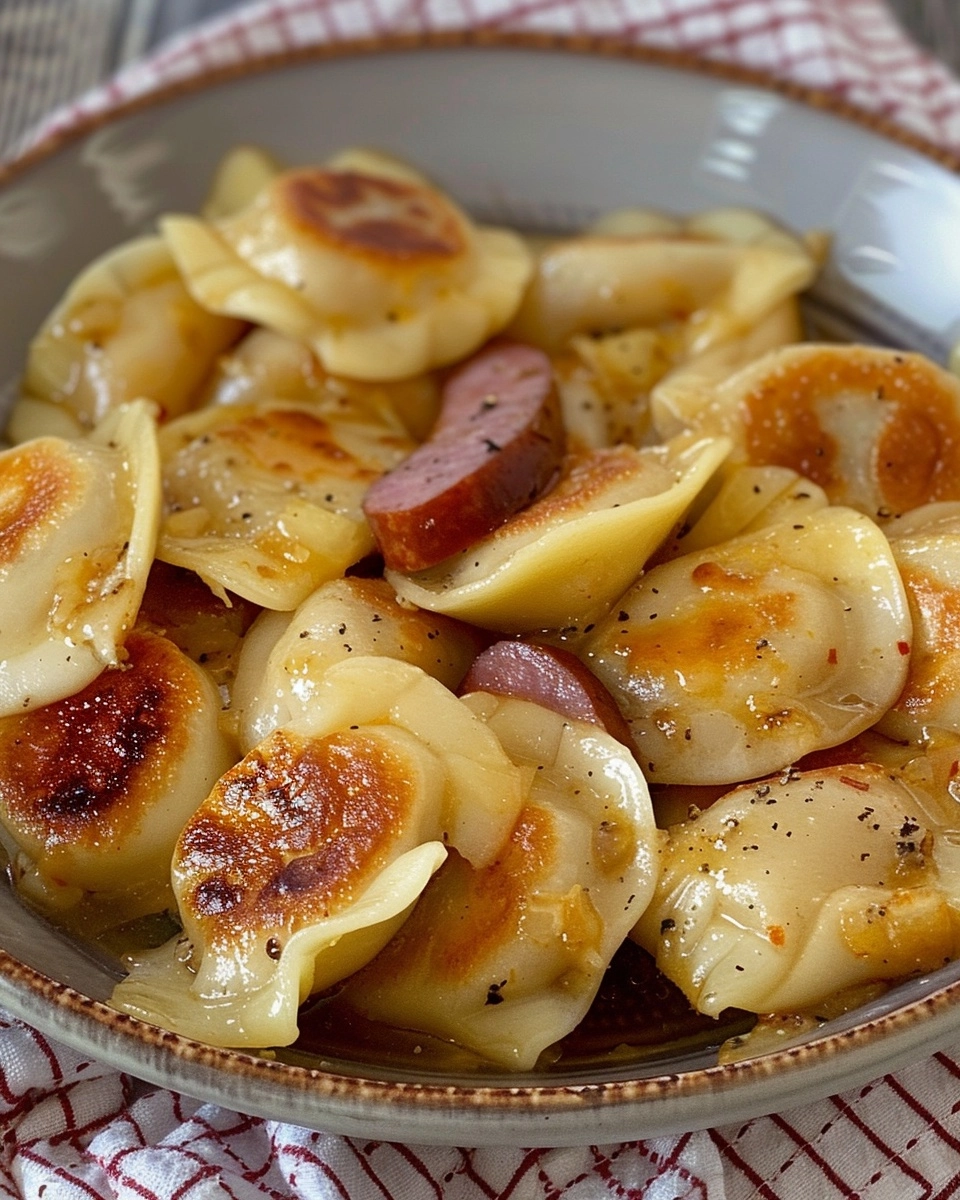
Finish with salt and pepper to taste. A final toss in the skillet ensures every single bite of Pierogies and Kielbasa will be full of flavor. Serve warm, and don’t forget the optional dollop of sour cream and fresh parsley if you like.
How to Serve Pierogies and Kielbasa
Garnishes
A generous spoonful of sour cream turns Pierogies and Kielbasa into pure comfort food, while a scatter of chopped parsley adds a pop of freshness and color. For extra tang, try a side of sauerkraut or a sprinkle of fresh dill.
Side Dishes
This hearty meal pairs well with a light, crunchy salad—think crisp cucumber or tangy slaw for contrast. Steamed green beans or roasted root vegetables also round out the table beautifully.
Creative Ways to Present
Try serving Pierogies and Kielbasa family-style in a big skillet for everyone to dig in, or plate up individual portions with a flourish of garnishes. For a party, use toothpicks and serve the components as finger food bites—they make a delicious appetizer!
Make Ahead and Storage
Storing Leftovers
Store any leftover Pierogies and Kielbasa in an airtight container in the refrigerator. They’ll keep well for up to 3 days, making them perfect for lunch or a no-fuss second dinner.
Freezing
If you want to freeze leftovers, let them cool completely, then pack in a freezer-safe container. They freeze surprisingly well for up to 2 months, though the pierogies may lose a bit of crispness when thawed.
Reheating
For best results, reheat Pierogies and Kielbasa in a skillet over medium heat with a touch of butter or oil. This brings back some texture to the pierogies and revives the flavors, though microwaving works in a pinch!
FAQs
Can I make Pierogies and Kielbasa with fresh pierogi instead of frozen?
Absolutely! If you have homemade or store-bought fresh pierogi, just adjust the cooking time—they may cook a bit faster and will taste even more tender in this skillet recipe.
Do I have to boil the pierogies first, or can I pan-fry them from frozen?
Many frozen pierogies can go straight into a hot skillet, but check your package instructions to be sure. Boiling first helps ensure they cook through and become tender before getting their final crisp.
What other sausages work well in place of kielbasa?
While smoked kielbasa is traditional and brings that classic Polish flavor, feel free to try smoked andouille, bratwurst, or even a spicy Italian sausage for a twist.
How do I make this recipe vegetarian?
Simply swap the kielbasa for a plant-based sausage or leave it out altogether—pile on caramelized onions, mushrooms, and maybe a little smoked paprika for a meat-free version that’s just as satisfying.
Is this dish good for meal prep?
Yes! Pierogies and Kielbasa reheat beautifully, so you can make a big batch ahead of time for easy lunches or dinners throughout the week. Make sure to store with a little extra sauce or butter to keep it moist.
Final Thoughts
Pierogies and Kielbasa isn’t just a meal—it’s a celebration of simple ingredients coming together into something truly delicious. I can’t recommend this easy, satisfying recipe enough. Give it a try, and see how quickly it works its way into your family’s regular rotation!
Print
Pierogies and Kielbasa Recipe
- Total Time: 30 minutes
- Yield: 4 servings 1x
Description
Smoky, buttery, and satisfying, this Pierogies and Kielbasa recipe is a quick, comforting dinner perfect for weeknights or hearty family meals.
Ingredients
Pierogies & Kielbasa
- 1 package (16 oz) frozen pierogies (any flavor)
- 1 tablespoon olive oil
- 1 tablespoon butter
- 1 onion, thinly sliced
- 14 oz smoked kielbasa, sliced into rounds
- Salt and pepper, to taste
For Serving (Optional)
- Sour cream
- Chopped fresh parsley
Instructions
- Prepare the Skillet: In a large skillet over medium heat, add olive oil and butter. Let them melt together, creating a flavorful base for the other ingredients.
- Caramelize the Onions: Add the thinly sliced onion to the skillet. Cook, stirring occasionally, until onions are deeply golden and caramelized, about 8–10 minutes. This will develop lots of sweet, savory flavor.
- Brown the Kielbasa: Push the onions to one side of the skillet and add the sliced kielbasa. Cook the kielbasa for 5–7 minutes, flipping or stirring occasionally, until the rounds are nicely browned on each side and heated through.
- Cook the Pierogies: Meanwhile, prepare the frozen pierogies according to the package directions. Most commonly, this will mean boiling them in salted water for a few minutes until they float to the surface, or pan-frying for extra crispness.
- Combine Everything: If you boiled the pierogies, drain them well. Add the pierogies to the skillet with the kielbasa and onions. Gently stir everything together and cook for another 3–4 minutes, allowing the pierogies to lightly crisp in the butter and oil and letting the flavors meld.
- Season and Serve: Season the whole dish with salt and pepper to taste. Serve hot, with optional sour cream and a sprinkling of chopped fresh parsley for a bright, creamy finish.
Notes
- For extra flavor, consider adding a clove of minced garlic with the onions.
- You can use any flavor of pierogies—cheese, potato, or mushroom work well.
- If you prefer extra-crispy pierogies, finish by pan-frying them in the skillet with a bit more butter.
- Leftovers store well in the fridge for up to 3 days and reheat nicely in a skillet.
- Serve with a crisp salad or steamed vegetables to round out the meal.
- Prep Time: 10 minutes
- Cook Time: 20 minutes
- Category: Main-course
- Method: Stovetop
- Cuisine: Eastern European
Nutrition
- Serving Size: 1/4 of recipe
- Calories: 510
- Sugar: 6g
- Sodium: 1150mg
- Fat: 26g
- Saturated Fat: 10g
- Unsaturated Fat: 14g
- Trans Fat: 0g
- Carbohydrates: 47g
- Fiber: 3g
- Protein: 20g
- Cholesterol: 55mg