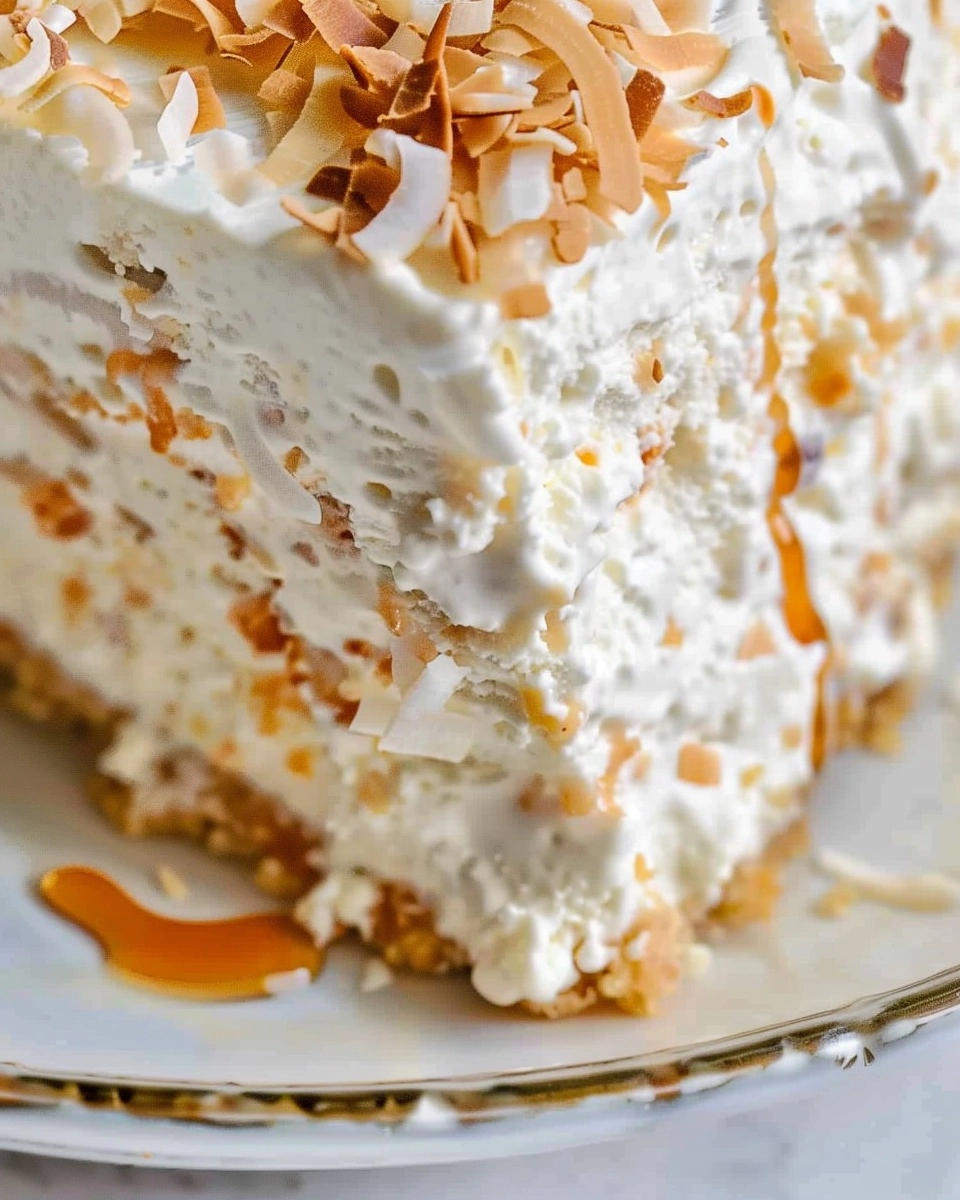
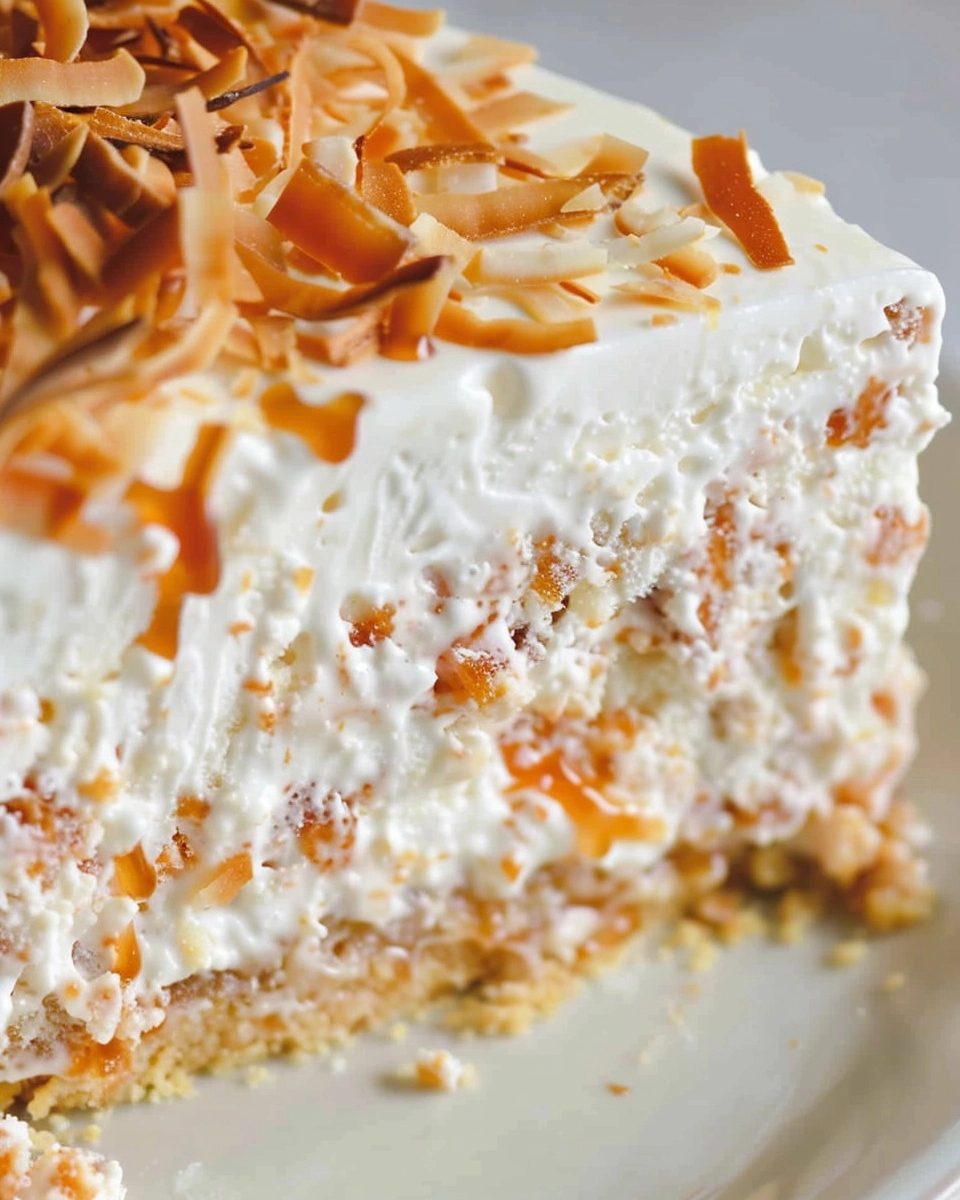
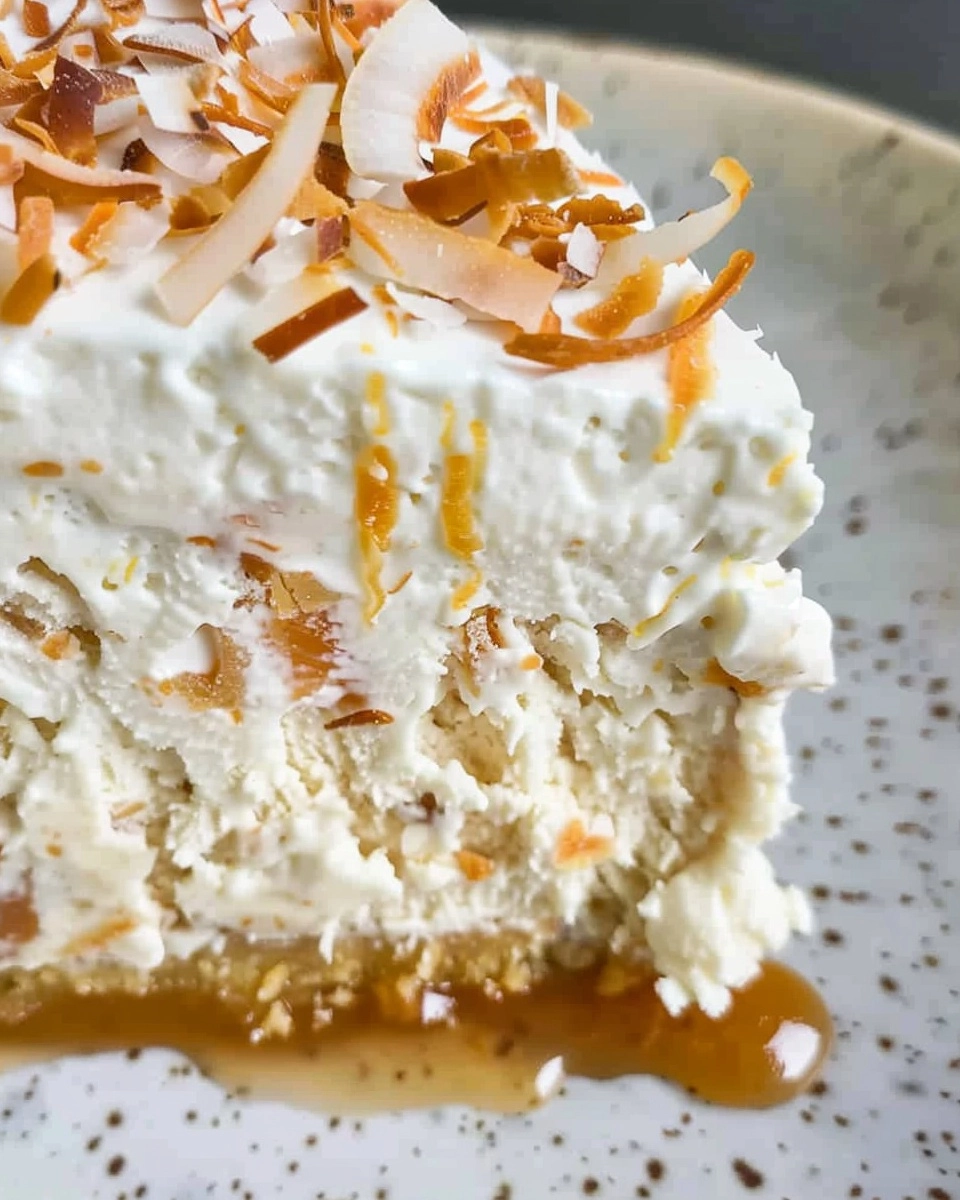
No-Bake Butterfinger Pie is rich, creamy, and loaded with crunchy candy pieces—an easy, crowd-pleasing dessert ready in minutes with zero oven time.
Ingredients You’ll Need
The magic of No-Bake Butterfinger Pie is all about simplicity with a purpose. Every ingredient has its moment to shine, from the tangy cream cheese to the irresistible Butterfinger crunch. Here’s what you’ll need and why it matters:
- Graham cracker pie crust: This sweet and buttery crust gives the pie a perfect foundation and saves you precious prep time by skipping the oven.
- Cream cheese (softened): Essential for a rich, creamy filling that balances the sweetness and adds body to every slice.
- Cool Whip (thawed): Delivers lightness and dreamy, melt-in-your-mouth texture with zero effort.
- Butterfinger candy bars (crushed): The star ingredient brings signature peanut butter crunch and chocolatey ribbons throughout every layer—don’t skimp!
How to Make No-Bake Butterfinger Pie
Step 1: Prepare the Cream Cheese Base
Start by placing your softened cream cheese in a large mixing bowl. Use an electric mixer to beat it until it’s perfectly smooth, light, and fluffy. This creates the ultra-creamy foundation that will blend beautifully with the rest of your mix-ins and prevent lumps in your No-Bake Butterfinger Pie.
Step 2: Fold in Cool Whip and Butterfinger
Add the thawed Cool Whip and six crushed Butterfinger candy bars to your creamy base. Grab a spatula and gently fold everything together. Stir just until the mixture is evenly combined, being careful not to deflate the fluffy whipped topping, so the final pie stays as light as it is decadent.
Step 3: Fill the Pie Crust
Spoon the luscious filling into your pre-made graham cracker crust. Use a spatula to smooth the top, making sure to reach the edges so every slice is packed with filling. This step is as satisfying as it sounds—the mix is thick, speckled with golden Butterfinger pieces, and absolutely irresistible.
Step 4: Top with More Butterfinger
Sprinkle the remaining crushed Butterfinger bar generously over the top. That extra hit of candy creates a tempting, crunchy finish and lets everyone know exactly what kind of pie they’re about to enjoy!
Step 5: Chill Until Firm
Cover your masterpiece with plastic wrap and pop it in the fridge for at least four hours. Chilling is key here—it allows the filling to set up perfectly and the flavors to marry, so the No-Bake Butterfinger Pie slices neatly and tastes even dreamier.
How to Serve No-Bake Butterfinger Pie
Garnishes
This pie is already gorgeous, but a playful garnish makes each slice extra special. Try a swirl of whipped cream, extra Butterfinger crumbs, or a drizzle of chocolate or caramel sauce for a bakery-worthy look that delights your guests before they even take a bite.
Side Dishes
Because No-Bake Butterfinger Pie is so rich and flavorful, pair it with lighter sides. A bowl of fresh strawberries or raspberries adds a bright, tart contrast, and even a tall glass of cold milk or iced coffee makes a delicious companion for this creamy dessert.
Creative Ways to Present
If you’re entertaining or want a fun twist, try making mini pies in individual tart pans or mason jars for a personal-sized treat. Or, slice the finished pie into bars and serve on a platter for a party-friendly, finger-food version that disappears fast at gatherings.
Make Ahead and Storage
Storing Leftovers
Store any leftover No-Bake Butterfinger Pie tightly covered in the refrigerator. It stays fresh and creamy for up to four days—though it rarely lasts that long once people know it’s there! The chilled filling holds its texture beautifully and doesn’t get soggy.
Freezing
If you’d like to keep your pie longer, it freezes beautifully. Simply wrap it well with plastic wrap and a layer of foil, and freeze for up to one month. Thaw overnight in the fridge before serving; the filling will still be luscious and the Butterfinger stays crunchy.
Reheating
No warming up is needed for No-Bake Butterfinger Pie! Serve it straight from the fridge for the best texture, or let it sit at room temperature for just 10 minutes if you’d like the filling a touch softer. Heating is not necessary, since this pie is all about that cool, creamy experience.
FAQs
Can I use homemade whipped cream instead of Cool Whip?
Absolutely! You can swap in about 3 cups of freshly whipped cream for the Cool Whip if you prefer a homemade touch. Just make sure the whipped cream is stiff enough to hold its shape in the filling.
What if I can’t find Butterfinger bars?
If Butterfinger bars aren’t available, try using a similar crispy peanut butter candy or even peanut butter cups mixed with toffee bits for that addictively crunchy-sweet effect. The classic Butterfinger crunch is iconic, but substitutions work in a pinch.
Can I make this pie ahead of time?
No-Bake Butterfinger Pie is perfect for making ahead—just prepare it a day in advance and let it chill until serving. The flavors meld and the texture sets up even better with a little extra fridge time.
Is there a gluten-free version?
Yes, you can easily make a gluten-free No-Bake Butterfinger Pie by using a gluten-free graham cracker crust and double-checking that your Butterfinger bars are gluten-free. The rest of the ingredients are naturally gluten-free!
How can I crush the Butterfinger bars easily?
Place the candy bars in a zip-top bag and smash them gently with a rolling pin or meat mallet. This creates perfectly sized chunks to fold into the pie and sprinkle on top—plus, it’s a fun way to get out any extra energy!
Final Thoughts
If you’ve never tried making a No-Bake Butterfinger Pie, now’s the time to treat yourself and your loved ones to a new favorite dessert. It’s indulgent, simple, and packed with flavor—one of those recipes you’ll return to any time you want to wow a crowd or satisfy a major sweet tooth. Give it a try, and get ready for rave reviews at every single gathering!
More No-Bake & Candy Bar Desserts
If you loved this No-Bake Butterfinger Pie, you’ll want to try more creamy and candy-inspired desserts. For another indulgent no-bake favorite, check out our No-Bake Chocolate Espresso Cheesecake. If you’re craving caramel and chocolate, the Milky Way Caramel Cheesecake Brownies are pure bliss. For a fun, nostalgic treat, try our Fudgy Cosmic Brownies. Peanut butter lovers will go crazy for the Chocolate Peanut Butter Banana Bites. And when you want a caramel twist, the Caramel Brownie Cheesecake is the ultimate layered dessert.
Print
No-Bake Butterfinger Pie Recipe
- Total Time: 15 minutes
- Yield: 8 servings 1x
- Diet: Vegetarian
Description
No-Bake Butterfinger Pie is rich, creamy, and loaded with crunchy candy pieces—an easy, crowd-pleasing dessert ready in minutes with zero oven time.
Ingredients
For the Crust
- 1 (9-inch) pre-made graham cracker pie crust
For the Filling
- 1 (8 oz) package cream cheese, softened
- 1 (12 oz) container Cool Whip, thawed
- 6 (2.1 oz) Butterfinger candy bars, crushed
For Topping
- 1 (2.1 oz) Butterfinger candy bar, crushed (reserved for garnish)
Instructions
- Prepare the Cream Cheese Base: In a large bowl, use an electric mixer to beat the softened cream cheese until it becomes smooth and very fluffy. This step helps ensure your filling will be light and creamy, with no lumps.
- Mix in the Whipped Topping and Butterfingers: Gently fold in the thawed Cool Whip and six crushed Butterfinger candy bars. Mix until everything is fully combined—the candy bars should be evenly distributed through the creamy mixture.
- Fill the Crust: Spoon the creamy Butterfinger mixture into the pre-made graham cracker crust. Spread it out evenly to fill the crust from edge to edge.
- Garnish the Pie: Sprinkle the remaining crushed Butterfinger candy bar generously over the top of the pie for added crunch and a burst of color.
- Chill: Cover the pie loosely with plastic wrap and refrigerate for at least 4 hours, or until completely firm. This helps the flavors meld and makes for perfect, tidy slices.
- Serve: Slice the chilled pie and serve cold. Each piece will have layers of creamy filling and crunchy Butterfinger bites for the ultimate no-bake dessert experience!
Notes
- You can make this pie the night before; it tastes even better after sitting in the fridge overnight.
- For easy slicing, wipe your knife clean between cuts.
- For a fluffier texture, make sure the whipped topping is fully thawed before mixing.
- Substitute the graham crust for an Oreo crust for a chocolatey twist.
- Prep Time: 15 minutes
- Cook Time: 0 minutes
- Category: Desserts
- Method: No-cook
- Cuisine: American
Nutrition
- Serving Size: 1 slice (1/8 of pie)
- Calories: 390 kcal
- Sugar: 27 g
- Sodium: 280 mg
- Fat: 20 g
- Saturated Fat: 11 g
- Unsaturated Fat: 7 g
- Trans Fat: 0 g
- Carbohydrates: 45 g
- Fiber: 1 g
- Protein: 5 g
- Cholesterol: 30 mg