
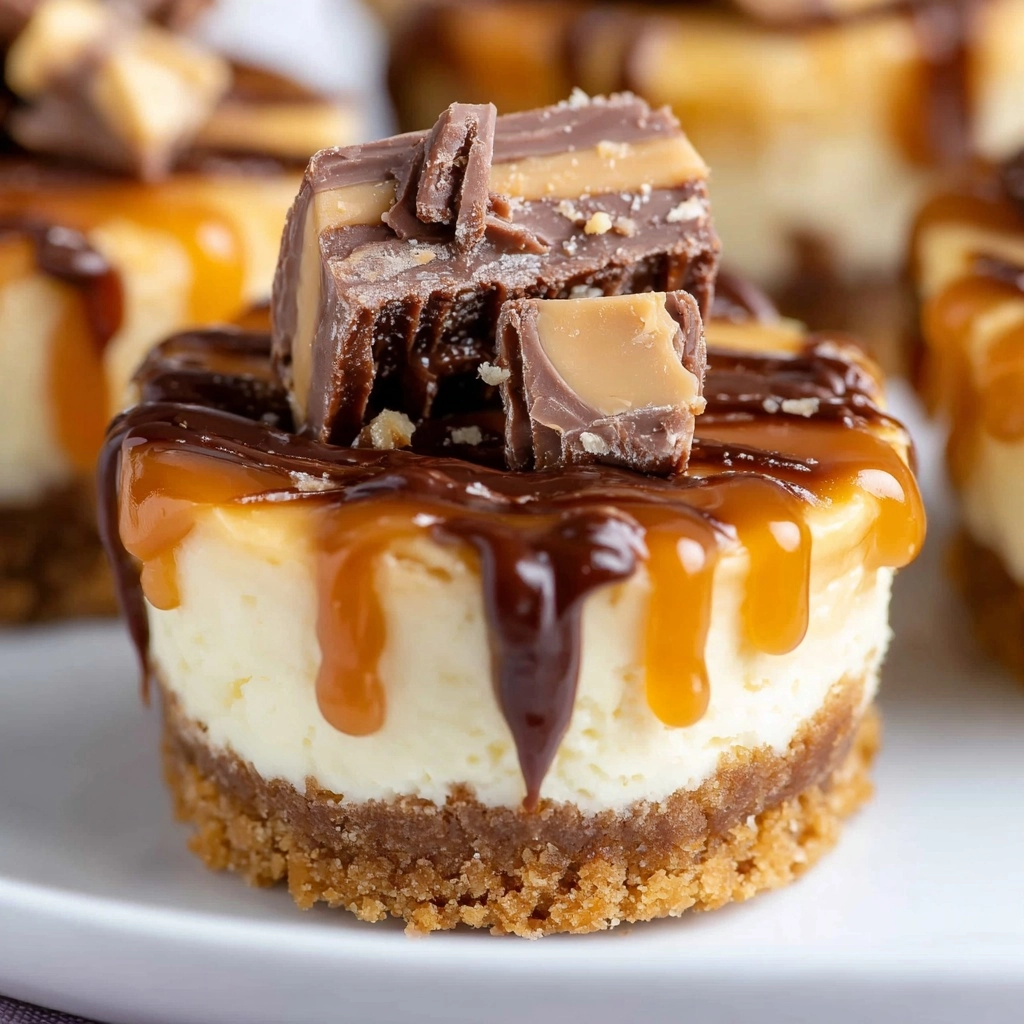
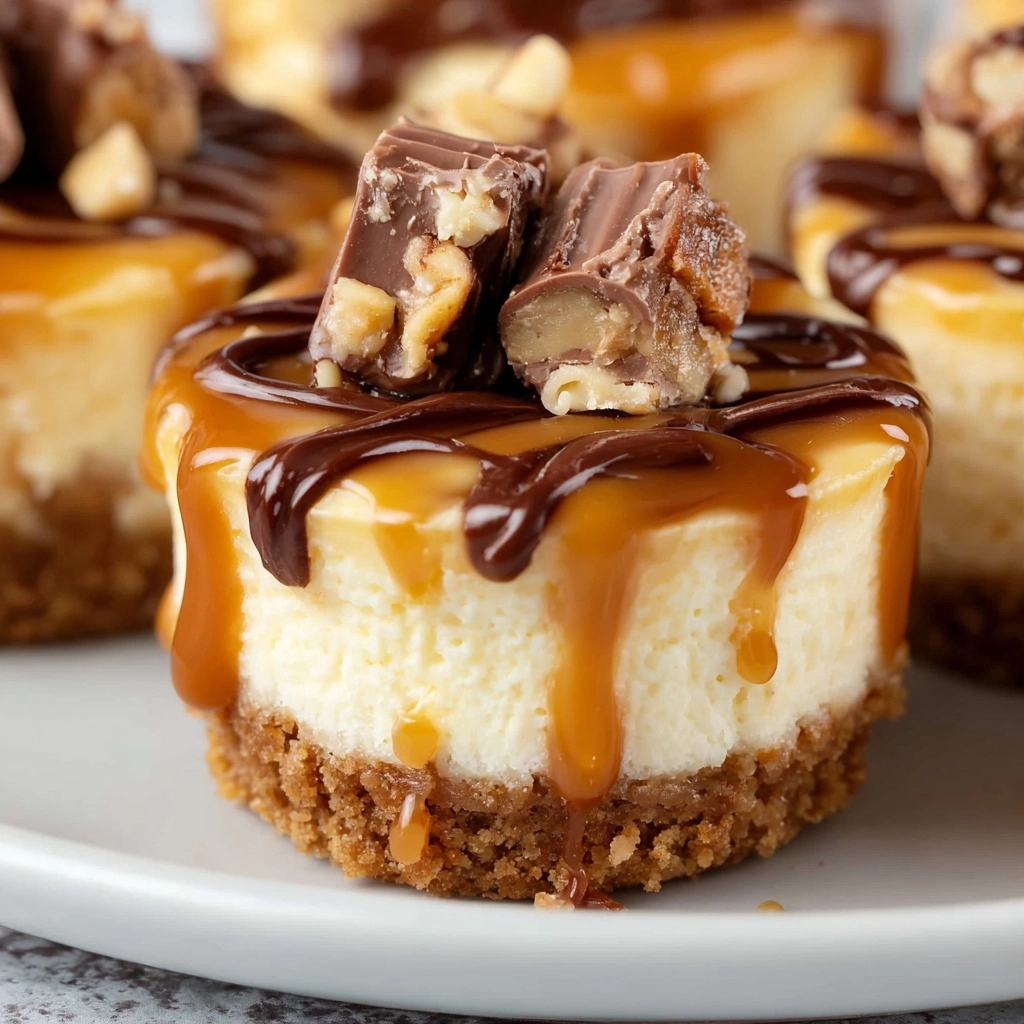
Creamy, chocolatey, and loaded with chunks of Snickers, these Mini Snickers Cheesecake Cups are the ultimate bite-sized indulgence for any sweet tooth.
Ingredients You’ll Need
Every delicious layer in these Mini Snickers Cheesecake Cups comes together with a handful of pantry staples. Each ingredient plays a crucial role in building flavor, texture, or that signature pop of color that makes these so darn tempting.
- Graham cracker crumbs: These provide the perfect crispy, buttery base that holds everything together.
- Unsalted butter, melted: Binding the crumbs and adding rich flavor to the crust.
- Cream cheese, softened: The star of the show—super creamy and gives luscious texture to the filling.
- Creamy peanut butter: Classic peanutty richness that pairs flawlessly with Snickers!
- Granulated sugar: Just enough sweetness to balance out the tang of the cream cheese.
- Vanilla extract: Enhances all the sweet and nutty flavors.
- Egg: Essential for setting the cheesecake so it’s soft yet holds its shape.
- Caramel sauce: Adds that gooey, golden ribbon of butter-sweet flavor in every bite.
- Chopped mini Snickers or chopped peanuts: For the ultimate crunchy, chocolatey topping!
- Milk chocolate, melted: A drizzle of chocolate on top brings home the candy bar vibes.
How to Make Mini Snickers Cheesecake Cups
Step 1: Prep Your Pan
Preheat your oven to 325°F (165°C). Line a 12-cup muffin tin with paper liners, or spray lightly with nonstick cooking spray if you prefer your cheesecake cups naked. This step guarantees that lovely release later on—no sticky messes!
Step 2: Make the Graham Crust
In a small bowl, combine the graham cracker crumbs with the melted butter. Stir together until every crumb glistens and you have the texture of wet sand. Divide the mixture evenly among the muffin cups, pressing it firmly down to form a crust with a spoon or your fingers. This little step gives your Mini Snickers Cheesecake Cups that ultra-satisfying crunch at the bottom.
Step 3: Whip Up the Cheesecake Batter
In a medium mixing bowl, beat the softened cream cheese, creamy peanut butter, granulated sugar, and vanilla extract together until the mixture is smooth and velvety—no lumps allowed! Crack in the egg and beat again just until it disappears. You want everything well-blended, but don’t overmix to keep your cheesecakes light and tender.
Step 4: Fill ‘Em Up
Scoop the cheesecake mixture over the prepared crusts, filling each muffin cup about three-quarters full. Tap the pan gently to smooth out the tops and settle any pesky air bubbles. You’re setting the stage for picture-perfect Mini Snickers Cheesecake Cups!
Step 5: Bake and Chill
Pop your tray in the oven and bake for 15 to 18 minutes. The edges should look set, but the centers will still jiggle ever-so-slightly when you nudge the pan. Take them out, let them cool completely at room temperature, then pop the whole tray into the fridge for at least 2 hours. The chilling step guarantees that trademark creamy texture and makes them way easier to serve.
Step 6: Top and Serve
Just before serving, drizzle each cup with extra caramel sauce and the melted milk chocolate. Finish with a blizzard of chopped mini Snickers or peanuts right on top for texture and crunch. Your Mini Snickers Cheesecake Cups are ready to steal the spotlight!
How to Serve Mini Snickers Cheesecake Cups
Garnishes
When it comes to garnishing, don’t hold back! I love to go over the top with caramel drizzle, a zigzag of melted chocolate, and a little handful of extra chopped Snickers or peanuts. The glossier, glitzier, and chunkier, the better—it’s all about making these little cups look as joyful as they taste.
Side Dishes
Since these cheesecake cups are sweet and rich, they’re great alongside a simple scoop of vanilla or coffee ice cream, or even a fresh fruit salad for a burst of brightness. Coffee, milk, or a tall glass of chilled almond milk are classic sips that wash everything down beautifully.
Creative Ways to Present
Try arranging your Mini Snickers Cheesecake Cups on a gorgeous cake stand or tiered platter at your next party. You can pop a mini flag or skewer on each one for a festive look, or even style each with a tiny swirl of whipped cream. They’re also adorable tucked into individual treat boxes as edible party favors or thank-you gifts!
Make Ahead and Storage
Storing Leftovers
Any leftovers (if that ever happens!) keep wonderfully in the refrigerator for up to four days. Store your Mini Snickers Cheesecake Cups in an airtight container so they stay creamy and the toppings stay fresh. They’re the kind of late-night treat you’ll get excited to find!
Freezing
These cheesecake cups freeze like a dream! Arrange them (topping and all) on a tray, freeze until solid, then tuck them into a freezer-safe bag. They’ll last up to two months—just thaw in the fridge overnight before enjoying. The Snickers chunks and caramel will come out perfectly decadent.
Reheating
No reheating required here—Mini Snickers Cheesecake Cups are at their best served chilled straight from the fridge. If you like them a little closer to room temperature, set out for 10 minutes before serving. Either way, the creamy filling and the snappy chocolate will shine.
FAQs
Can I use crunchy peanut butter instead of creamy?
Absolutely! Crunchy peanut butter will add a little extra texture and nutty crunch to the cheesecake filling. Just be sure to mix thoroughly for even distribution.
What if I don’t have mini Snickers bars?
No stress—chopped regular Snickers bars work just as well, or sub in chopped peanuts and a sprinkle of chocolate chips for a similar flavor profile.
Can I make these ahead for a party?
Yes! Mini Snickers Cheesecake Cups are party perfection because you can make them a day or two ahead of time. Just hold off on the drizzle and topping until right before serving for the freshest look.
Can I use a different crust?
Certainly. Chocolate wafer crumbs or even crushed pretzels make amazing alternatives to the classic graham cracker base, adding a new flavor twist while staying sturdy and delicious.
How can I make these gluten-free?
Simple! Swap out the graham crackers for a gluten-free alternative or use gluten-free cookies—just make sure all your other ingredients (like the Snickers and caramel) are certified gluten-free too.
Final Thoughts
I can’t wait for you to try these Mini Snickers Cheesecake Cups—they’re the ultimate combo of creamy, crunchy, sweet, and salty in every bite-sized package. Whether you’re making them for a party or a cozy night in, I promise they’ll win you lots of “oohs” and “aahs.” Give them a go and let them become a new favorite in your treat repertoire!
Print
Mini Snickers Cheesecake Cups Recipe
- Total Time: 2 hours 33 minutes
- Yield: 12 cups 1x
- Diet: Vegetarian
Description
Creamy, chocolatey, and loaded with chunks of Snickers, these Mini Snickers Cheesecake Cups are the ultimate bite-sized indulgence for any sweet tooth.
Ingredients
Crust
- 1 cup graham cracker crumbs
- 3 tablespoons unsalted butter, melted
Cheesecake Filling
- 8 oz cream cheese, softened
- 1/4 cup creamy peanut butter
- 1/4 cup granulated sugar
- 1 teaspoon vanilla extract
- 1 egg
Topping
- 1/4 cup caramel sauce, plus extra for drizzling
- 1/4 cup chopped mini Snickers or chopped peanuts
- 2 oz milk chocolate, melted, for drizzle
Instructions
- Prep the Pan: Preheat your oven to 325°F (165°C). Line a 12-cup muffin tin with paper liners or lightly grease each cup to prevent sticking.
- Make the Crust: In a small bowl, mix the graham cracker crumbs with melted butter until the mixture resembles wet sand. Divide the mixture evenly among the muffin cups, pressing firmly into the bottom to form a crust layer.
- Mix Cheesecake Filling: In a medium bowl, beat together the softened cream cheese, creamy peanut butter, granulated sugar, and vanilla extract until smooth and creamy. Add the egg and beat just until fully incorporated, taking care not to over-mix.
- Assemble Cheesecakes: Spoon the cheesecake filling over the prepared crusts, filling each cup about three-quarters full. Smooth the tops as needed.
- Bake: Place the muffin tin in the preheated oven and bake for 15–18 minutes, or until the edges are set and slightly puffed but the centers still jiggle a bit when gently shaken.
- Cool and Chill: Remove the cheesecakes from the oven and allow them to cool to room temperature in the pan. Then transfer to the refrigerator and chill for at least 2 hours, or until fully set and firm.
- Add Toppings: Just before serving, remove the mini cheesecakes from the pan. Drizzle each one with caramel sauce and melted milk chocolate, then sprinkle with chopped mini Snickers bars or peanuts for that signature crunch and flavor.
Notes
- Let the cheesecakes cool fully before chilling to prevent condensation on the surface.
- If you prefer nut-free, use chopped pretzels or extra chocolate instead of peanuts or Snickers.
- The cheesecakes can be made a day ahead and stored in the fridge until ready to serve.
- For easier drizzling, microwave the caramel and chocolate until just pourable.
- Prep Time: 15 minutes
- Cook Time: 18 minutes
- Category: Desserts
- Method: Baking
- Cuisine: American
Nutrition
- Serving Size: 1 cup
- Calories: 240
- Sugar: 13g
- Sodium: 120mg
- Fat: 15g
- Saturated Fat: 7g
- Unsaturated Fat: 6g
- Trans Fat: 0g
- Carbohydrates: 22g
- Fiber: 1g
- Protein: 4g
- Cholesterol: 30mg