If you’ve never tasted the smoky-sweet magic of Hawaiian Huli Huli Chicken, let me tell you, you’re in for a treat that will instantly transport your taste buds to the islands! This irresistible classic features juicy grilled chicken bathed in a luscious marinade of pineapple juice, brown sugar, soy sauce, ginger, and garlic—each bite is a perfect blend of caramelized edges, savory richness, and tropical flair. Whether you’re hosting a backyard barbecue or simply craving a sunshiny escape on a plate, this recipe is guaranteed to become your go-to for crowd-pleasing flavor and fun.
Ingredients You’ll Need
What makes this dish truly unforgettable is how each simple ingredient comes together to create bold, layered flavors. You probably have most of what you need already—just gather these key players to create the unforgettable taste and gorgeous color that defines Hawaiian Huli Huli Chicken.
- Chicken Thighs: Thighs are juicy and tender, and they soak up the marinade beautifully; use bone-in or boneless, whichever you love best.
- Pineapple Juice (canned, not fresh): The canned variety contains enzymes that help tenderize the meat and infuse subtle sweetness and tang.
- Light Brown Sugar: Provides a deep, molasses-y sweetness that caramelizes on the grill for those signature charred edges.
- Ketchup: Gives body, color, and a hint of tomato tang to the marinade and basting sauce.
- Low-Sodium Soy Sauce: Brings the salty, umami-rich backbone that balances all the sugars and fruitiness.
- Apple Cider or Rice Vinegar: Your splash of acid for brightness and balance, either variety adds a lovely zing.
- Worcestershire Sauce (optional): Not traditional, but adds a slightly smoky-sweet complexity if you want an extra layer.
- Fresh Ginger: Bright, zingy, and fragrant, fresh ginger delivers that special island aroma and warmth.
- Fresh Garlic: Don’t skip this—it brings just the right depth and savory punch to round out the sweet marinade.
- Sesame Oil: Just a bit creates a wonderful nutty background note and enriches the overall flavor.
- Smoked Paprika (or Black Pepper): Adds a gentle warmth and lightly smoky element to complement the grill.
- Kosher Salt: Enhances every flavor and ensures the chicken is beautifully seasoned inside and out.
- Vegetable Oil: Use to grease the grill grates so nothing sticks, and those gorgeous grill marks shine through.
- Fresh Pineapple Rings and Sliced Green Onions: Reserved for serving, they add color, freshness, and a final tropical flourish.
How to Make Hawaiian Huli Huli Chicken
Step 1: Whisk Up the Marinade
In a large mixing bowl, grab your whisk and combine the pineapple juice, brown sugar, ketchup, soy sauce, vinegar, Worcestershire (if using), fresh ginger, minced garlic, sesame oil, smoked paprika, and kosher salt. Stir well until the sugar is dissolved and the mixture looks glossy and cohesive—this is the heart of your Hawaiian Huli Huli Chicken flavor.
Step 2: Marinate the Chicken
Pour out about half a cup of marinade into a separate container (for basting later). Place the chicken thighs in a big resealable bag or non-reactive bowl, then pour in the remaining marinade. Seal or cover tightly, ensuring every piece is coated. Refrigerate for at least 4 to 6 hours or, if you have time, overnight—longer marinating equals more flavor and tenderness!
Step 3: Prep the Grill and Rest the Chicken
About 30 minutes before cooking, take the chicken out of the fridge so it can rest at room temperature; this small step helps it cook evenly. Meanwhile, preheat your grill to medium-high and thoroughly oil the grates with vegetable oil to prevent sticking and encourage beautiful marks.
Step 4: Grill and Baste the Chicken
Lay your marinated chicken out across the hot grill. Grill for about 5 minutes on each side, turning frequently (remember, “huli” means “turn!”) and basting generously with the reserved marinade. Watch for lovely caramelization and those classic grill marks. Keep turning and basting until the chicken reaches 165°F internally and looks irresistibly glossy and charred.
Step 5: Add the Finishing Touches
Remove the chicken to a serving platter and let it rest for 5 to 10 minutes so the juices redistribute. While it rests, pour your reserved marinade into a saucepan and simmer over medium-low heat for 10 to 15 minutes, until it’s thick and glossy—this creates a sticky-sweet glaze. Drizzle or toss your grilled Hawaiian Huli Huli Chicken in this rich finishing sauce for extra flavor and shine.
Step 6: Grill the Pineapple and Serve
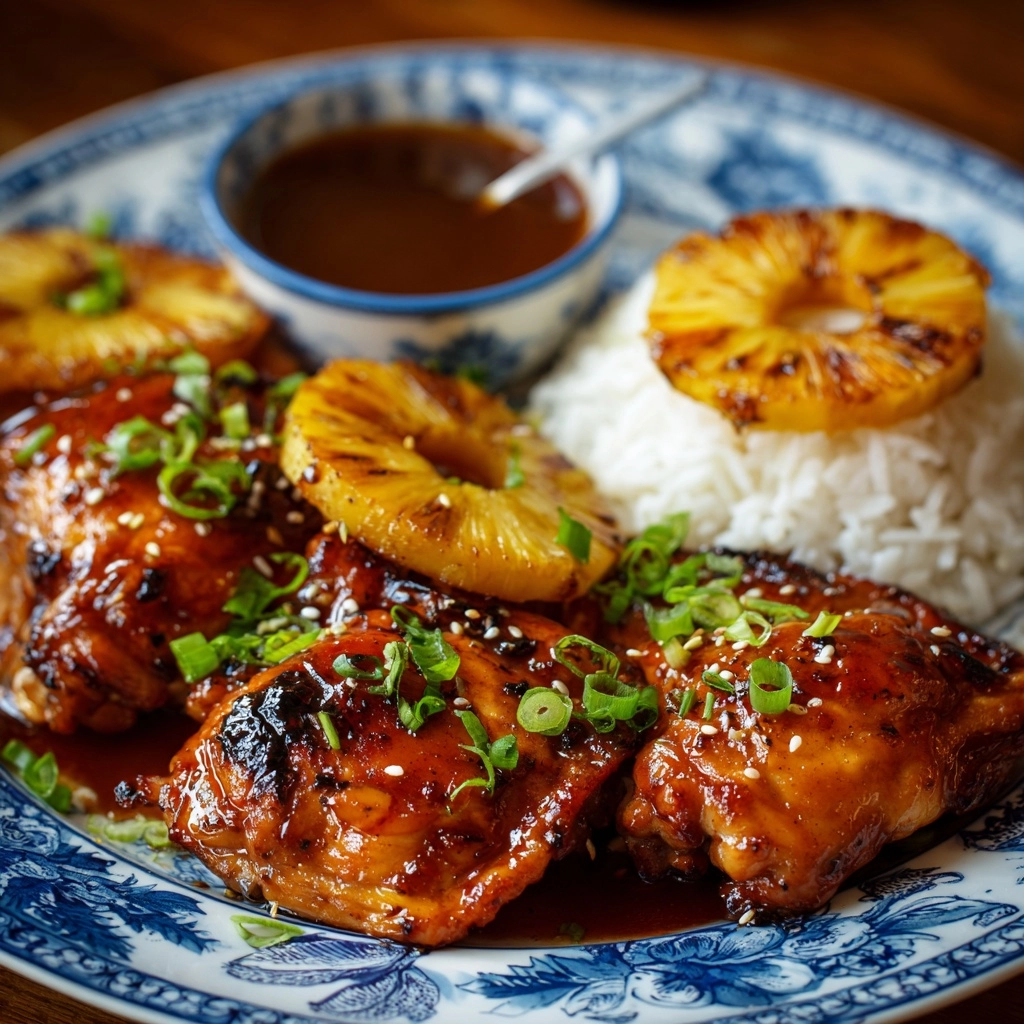
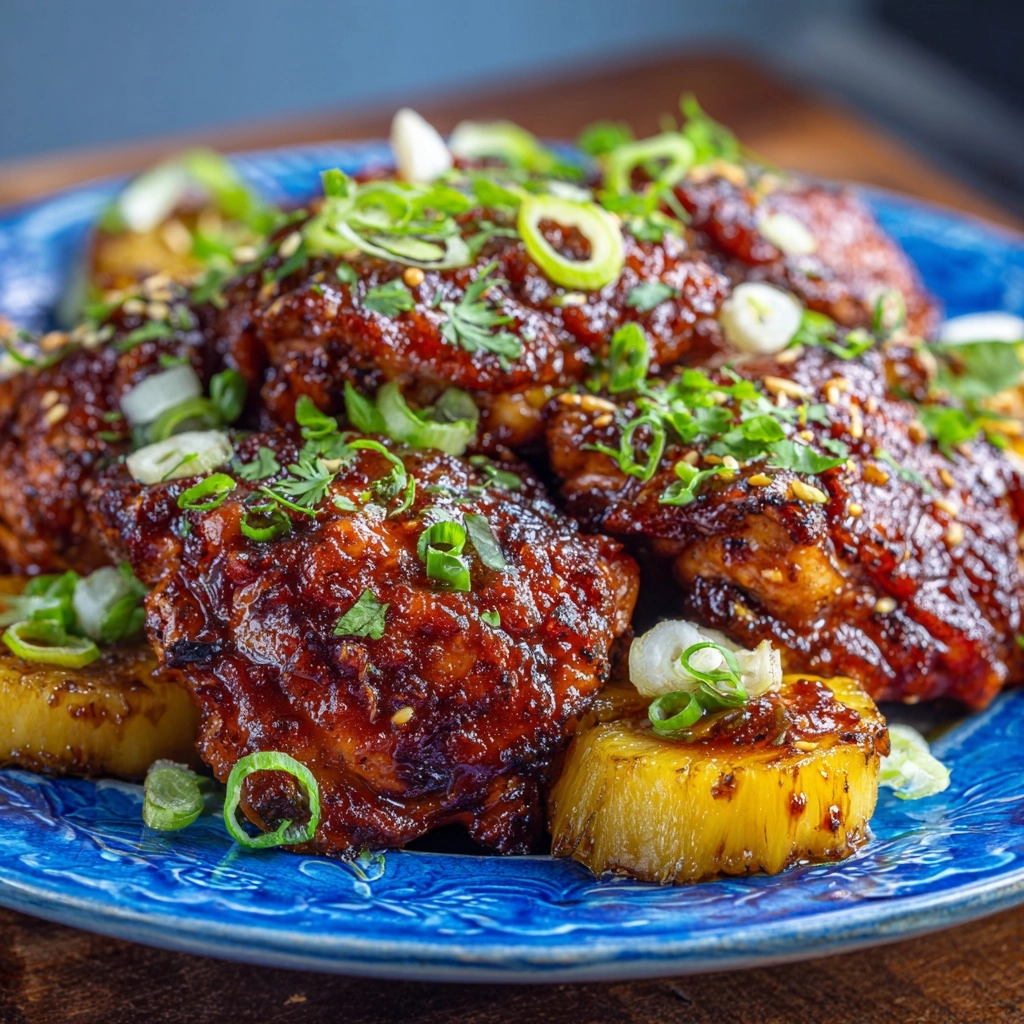
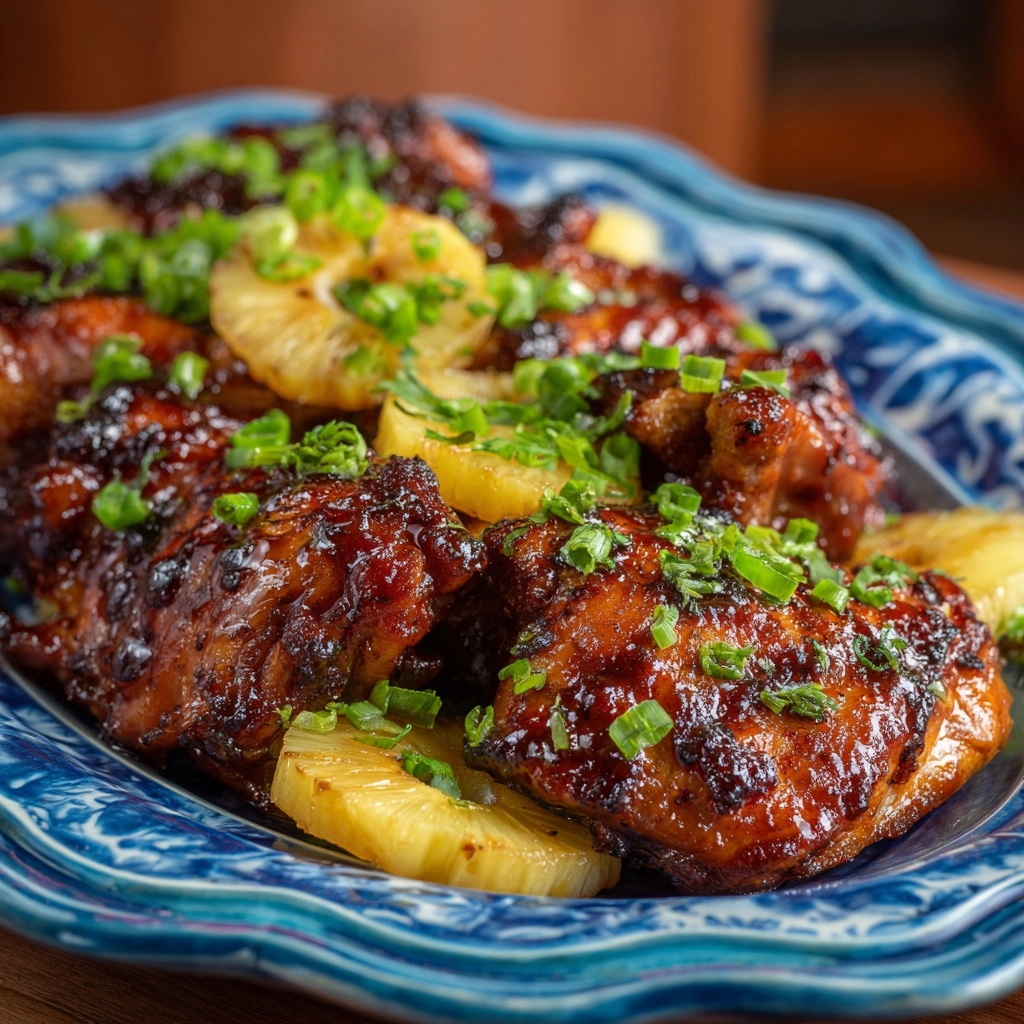
Just before serving, place your pineapple rings on the grill until they’re lightly charred and warm. Arrange the glazed chicken on a platter, top with those caramelized pineapple rings and sliced green onions, and serve over fluffy white rice or alongside Hawaiian-style macaroni salad. Pure sunshine on a plate!
How to Serve Hawaiian Huli Huli Chicken
Garnishes
For a burst of color and freshness, always finish your Hawaiian Huli Huli Chicken with beautifully grilled pineapple rings and a flurry of thinly sliced green onions. If you like a little heat, a sprinkle of chili flakes or a dash of toasted sesame seeds can also add a new twist to each bite.
Side Dishes
The classic way to enjoy this dish is heaped over fluffy steamed rice, soaking up every bit of that sweet-salty sauce. Or, double down on the island vibes by plating it next to a chilled, creamy Hawaiian-style macaroni salad. Need some greens? Tangy cabbage slaw or grilled veggies are perfect foils for the rich, sticky chicken.
Creative Ways to Present
Serve your Hawaiian Huli Huli Chicken family-style on a big platter decorated with tropical leaves or extra pineapple chunks for a festive flair. For parties, cube the chicken and skewer it with chunks of grilled pineapple. You can even tuck slices into soft buns with slaw for a wildly delicious sandwich or stuff it into lettuce cups for something lighter and fun.
Make Ahead and Storage
Storing Leftovers
Any leftover Hawaiian Huli Huli Chicken can be cooled completely, then stashed in an airtight container in the fridge for up to 4 days. The sauce continues to soak in, making the flavors even punchier for quick lunches or a speedy dinner makeover.
Freezing
If you want to save it for later, freeze portions of the cooled chicken (with a little sauce) in freezer-safe bags for up to 2 months. Be sure to remove as much air as possible and label clearly. Thaw in the refrigerator overnight for best texture and safety.
Reheating
To revive that just-grilled goodness, reheat leftover chicken with its glaze in a covered skillet over medium-low heat or on a baking sheet, covered, in a 325°F oven until warmed through. Add a splash of water or pineapple juice if needed to keep it moist and saucy.
FAQs
Can I use chicken breasts instead of thighs?
Absolutely! Just be sure to not overcook them, as breasts are leaner and can dry out faster. Marinating and basting generously will help keep them juicy—just check for doneness at 165°F.
Is there a substitute for pineapple juice?
If you can’t find canned pineapple juice, you can use bottled apple juice in a pinch, but the authentic Hawaiian Huli Huli Chicken flavor really shines with canned pineapple juice for its tang and sweet tropical essence.
Can I make Hawaiian Huli Huli Chicken in the oven?
Yes! Arrange marinated chicken on a rack over a baking sheet, roast at 425°F for about 20–25 minutes, basting a couple times with the reserved marinade, then finish under the broiler for a few minutes for that glorious caramelized effect.
Is marinating overnight necessary?
While even 4 hours will give you tasty results, an overnight marinade makes the chicken even more tender and flavorful as the pineapple and ginger really do their work. It’s worth planning ahead if you can!
What does “Huli Huli” actually mean?
Fun fact: “huli” means “turn” in Hawaiian. Traditional Hawaiian Huli Huli Chicken is constantly turned (and basted) as it grills, resulting in that signature caramelization and deep flavor you can’t resist.
Final Thoughts
I can’t recommend Hawaiian Huli Huli Chicken enough for any night you want something special with minimal fuss. The marinade does all the heavy lifting for you, and every bite is a little vacation. Give it a try—your grill (and your taste buds) will thank you!