
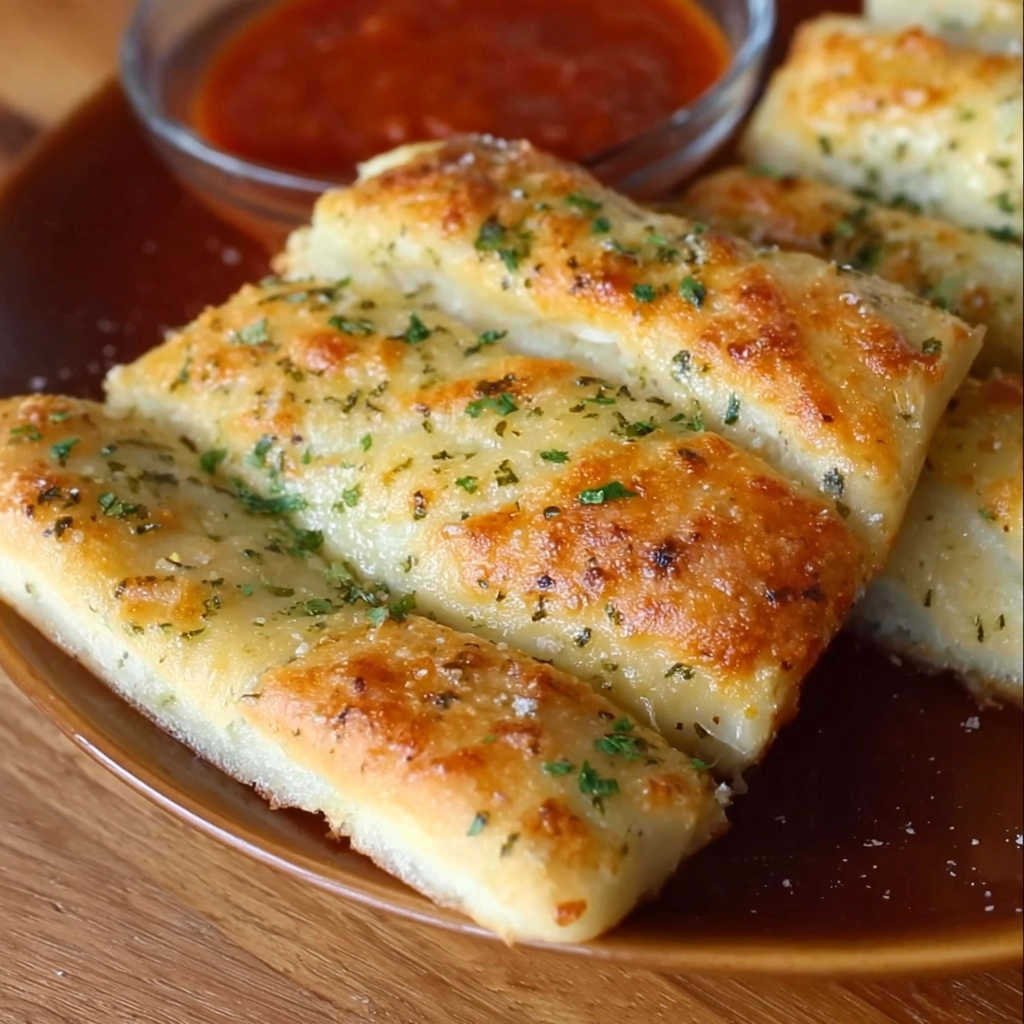
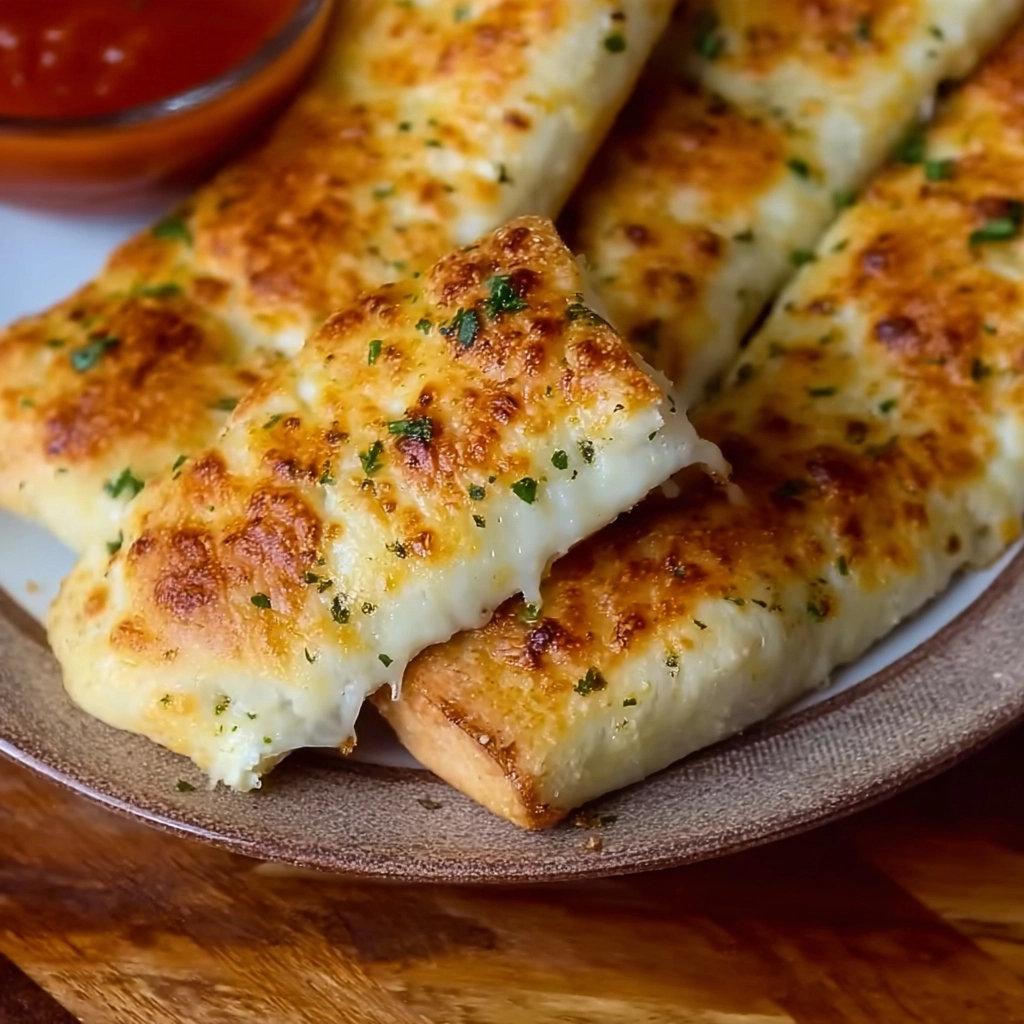
Cheesy Garlic Breadsticks—melty, golden, and irresistibly garlicky. A quick side or snack perfect for dipping, sharing, or pizza night.
Ingredients You’ll Need
The beauty of Cheesy Garlic Breadsticks lies in their simplicity: just a handful of everyday ingredients that work together to make magic. Each item on this list plays an essential role, whether it’s building flavor, creating that irresistible texture, or adding a pop of color.
- Warm water: This gets the yeast started and helps create soft, fluffy breadsticks every time.
- Honey or sugar: Just a tablespoon adds the perfect subtle sweetness and gives the yeast a boost to work its magic.
- Active dry yeast: Essential for light, airy dough that rises beautifully.
- Salt: Enhances the overall flavor so those cheesy, garlicky notes really sing.
- Olive oil: Gives the dough tenderness and a lovely moist texture.
- All-purpose flour: The base for your dough—start with 2 1/2 cups and add more as needed for the right consistency.
- Melted butter: Rich, decadent, and the ideal partner for garlic flavor on top.
- Garlic powder: Delivers consistent, robust garlic flavor that infuses every bite.
- Shredded mozzarella cheese: Melts into that oozy, crave-worthy topping you know and love.
- Grated Parmesan cheese: Adds a punch of salty, nutty depth to balance the mozzarella’s creaminess.
- Chopped parsley (optional): Fresh, vibrant, and perfect for a burst of color and herby finish.
- Marinara sauce: The ultimate dip — tangy, tomatoey, and a must for true Cheesy Garlic Breadsticks bliss.
How to Make Cheesy Garlic Breadsticks
Step 1: Activate the Yeast
Start by combining warm water, honey (or sugar), and the yeast in a mixing bowl. Give everything a good stir and let the mixture sit for 5 to 10 minutes, until it’s creamy and foamy on top. This step wakes up the yeast and ensures your Cheesy Garlic Breadsticks will have that airy, soft texture we all crave.
Step 2: Mix and Knead the Dough
Once your yeast is bubbly, add salt, olive oil, and about 2 1/2 cups of all-purpose flour to the bowl. Start mixing; if the dough’s feeling too sticky, sprinkle in more flour a little at a time until it’s smooth and just slightly tacky. Knead for several minutes (by hand or with a dough hook) until you get a soft, pliable ball — your arms might get a workout, but it’s worth every minute.
Step 3: Let the Dough Rise
Place the kneaded dough in a lightly oiled bowl and cover it with a clean towel or plastic wrap. Find a warm, draft-free spot for it to rise, usually 30 to 45 minutes, until it doubles in size. This resting period transforms your dough into the foundation of glorious Cheesy Garlic Breadsticks.
Step 4: Shape and Prepare for Topping
Preheat your oven to a piping-hot 500°F. Roll out your risen dough onto a parchment-lined baking sheet, aiming for a rectangle about 12 by 15 inches. If the dough doesn’t want to cooperate, let it rest for a few more minutes and try again — it should relax and stretch easily.
Step 5: Add the Buttery Garlic Topping
Stir together your melted butter and garlic powder, then brush this heavenly mixture all over the surface of the dough. This is what builds that iconic Cheesy Garlic Breadsticks flavor and guarantees aromatic kitchen magic.
Step 6: Layer on the Cheese and Extras
Sprinkle the shredded mozzarella across the brushed dough, shower it with grated Parmesan, and add parsley if you’re craving some color and freshness. Be generous — you want every bite to feature that classic pull-apart cheesy stretch.
Step 7: Bake to Golden, Bubbling Perfection
Bake in the hot oven for 8 to 10 minutes, watching as the cheese turns gorgeously golden and the edges start to brown. The smell will have you hovering at the oven door! Once done, slice into breadsticks and serve warm with plenty of marinara sauce for dipping.
How to Serve Cheesy Garlic Breadsticks
Garnishes
A simple flourish of fresh parsley or a few cracks of black pepper really elevates Cheesy Garlic Breadsticks. If you’re feeling extra, scatter on a pinch of crushed red pepper flakes for a little heat, or even some finely chopped basil for an Italian twist.
Side Dishes
These breadsticks are next-level alongside a classic Caesar salad, a hearty bowl of tomato soup, or even as a shareable starter for pasta night. Cheesy Garlic Breadsticks pair beautifully with almost any Italian-inspired dish or even as the star at a cozy game night spread.
Creative Ways to Present
Stack them high on a rustic board with little ramekins of different dipping sauces—think marinara, ranch, or garlic butter—so everyone can pick their favorite. For a party, slice them into mini sticks for the ultimate bite-sized snack, or top each with a cherry tomato or an olive for a fun, festive look. Cheesy Garlic Breadsticks can go from casual family dinner to inviting party tray in seconds!
Make Ahead and Storage
Storing Leftovers
If you somehow end up with extra Cheesy Garlic Breadsticks, stash them in an airtight container in the fridge. They’ll stay tasty for up to three days—still soft, still cheesy, and ready for your next snack attack!
Freezing
These breadsticks freeze surprisingly well. Once cooled, wrap individual sticks or the whole batch in foil and place in a freezer bag. They’ll keep their magic for up to two months, making it easy to satisfy future cravings in a snap.
Reheating
To revive refrigerated or frozen Cheesy Garlic Breadsticks, just warm them in a 350°F oven for about 8-10 minutes, or until melty and hot throughout. For frozen breadsticks, no need to thaw—just add a minute or two to the reheating time. You’ll be back to that fresh-baked feeling in no time!
FAQs
Can I use store-bought pizza dough instead of homemade?
Absolutely! If you need a shortcut, store-bought pizza dough works great and will still deliver that chewy, satisfying base for your Cheesy Garlic Breadsticks. Simply roll it out and follow the topping and baking instructions as written.
Can I use different types of cheese for the topping?
Definitely! While mozzarella and Parmesan are traditional and give that signature melt and flavor, feel free to experiment with provolone, cheddar, or even a smoky gouda. Just make sure it’s a good melting cheese for the best results.
What if I don’t have garlic powder?
No problem—swap in finely minced fresh garlic for a punchier, more aromatic kick. Mix 2-3 cloves into the melted butter before brushing it onto the dough for truly unforgettable Cheesy Garlic Breadsticks.
Can these be made gluten-free?
Yes! Substitute your favorite 1:1 gluten-free flour blend for the regular flour, and double-check that your yeast and other ingredients are certified gluten-free for a loaf that’s safe and still scrumptious.
Do I have to use a super hot oven?
The high temperature helps achieve perfectly golden, bubbly cheese and a crisp crust, but if your oven only goes up to 450°F, that’s fine. Just keep an eye on your Cheesy Garlic Breadsticks in the last few minutes of baking and add a minute or two if needed.
Final Thoughts
I can’t recommend these Cheesy Garlic Breadsticks enough—there’s just something so irresistible about their savory, cheesy, garlicky warmth. Treat yourself (and your crew!) to a batch soon, and I promise they’ll become a much-loved staple in your kitchen. Happy baking!
More Cheesy, Garlicky Goodness to Try Next
If you loved these Cheesy Garlic Breadsticks, you’ll definitely want to serve them alongside our flavorful Cheesy Garlic Mushroom Chicken — a rich and savory one-skillet meal. For more baked garlic favorites, try the crispy and satisfying Baked Garlic Parmesan Chicken or indulge in the buttery layers of our Cheesy Garlic Butter Rollups. Looking for something snackable? Don’t miss the gooey Cheesy Garlic Toast Pizzas, or wow your guests with our fun and sharable Cheesy Garlic Pull-Apart Muffin Cups.
Print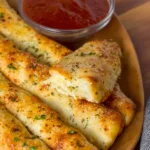
Cheesy Garlic Breadsticks Recipe
- Total Time: 1 hr 10 mins
- Yield: 12 breadsticks 1x
- Diet: Vegetarian
Description
Warm, buttery breadsticks loaded with melted cheese and garlicky goodness—golden, stretchy, and perfect for dipping, snacking, or sharing.
Ingredients
Dough
- 1 cup warm water
- 1 tbsp honey or sugar
- 1 tbsp active dry yeast
- 1 1/2 tsp salt
- 2 tbsp olive oil
- 2 1/2 to 3 cups all-purpose flour
Topping
- 3 tbsp melted butter
- 1 tsp garlic powder
- 1 1/2 cups shredded mozzarella cheese
- 2 tbsp grated Parmesan cheese
- Chopped parsley (optional)
For Serving
- Marinara sauce for dipping
Instructions
- Bloom the Yeast: In a large bowl, stir together warm water, honey (or sugar), and active dry yeast. Allow the mixture to sit for 5–10 minutes, until it becomes foamy and bubbly. This ensures the yeast is active for a good rise.
- Make the Dough: Add salt, olive oil, and 2 1/2 cups of flour to the yeast mixture. Stir until a dough forms, then knead for 5–7 minutes (adding more flour as needed) until the dough is smooth and elastic.
- Let the Dough Rise: Place the dough in a lightly oiled bowl, cover, and let it rise in a warm place for 30–45 minutes or until doubled in size.
- Shape the Breadsticks: Preheat your oven to 500°F (260°C). Punch down the risen dough and roll it into a 12×15-inch rectangle on a parchment-lined baking sheet.
- Add Garlic Butter: In a small bowl, mix the melted butter with garlic powder. Brush the entire surface of the rolled-out dough generously with the garlic butter mixture.
- Add Cheese and Parsley: Sprinkle shredded mozzarella cheese evenly over the dough, then add the grated Parmesan and a sprinkle of chopped parsley if desired.
- Bake: Bake in the preheated oven for 8–10 minutes, or until the cheese is bubbly and the edges of the dough are golden brown.
- Slice and Serve: Let cool slightly, then slice into breadsticks. Serve warm with marinara sauce for dipping.
Notes
- For extra flavor, add a pinch of Italian seasoning to the garlic butter.
- Use pre-made pizza dough to save time.
- The breadsticks are best enjoyed fresh but can be reheated in a hot oven for a few minutes.
- Brush a bit more melted butter over the breadsticks right after baking for extra richness.
- Prep Time: 15 mins
- Cook Time: 10 mins
- Category: Appetizers
- Method: Baking
- Cuisine: American, Italian-American
Nutrition
- Serving Size: 1 breadstick
- Calories: 210
- Sugar: 2g
- Sodium: 330mg
- Fat: 9g
- Saturated Fat: 4.5g
- Unsaturated Fat: 3.5g
- Trans Fat: 0g
- Carbohydrates: 25g
- Fiber: 1g
- Protein: 7g
- Cholesterol: 18mg