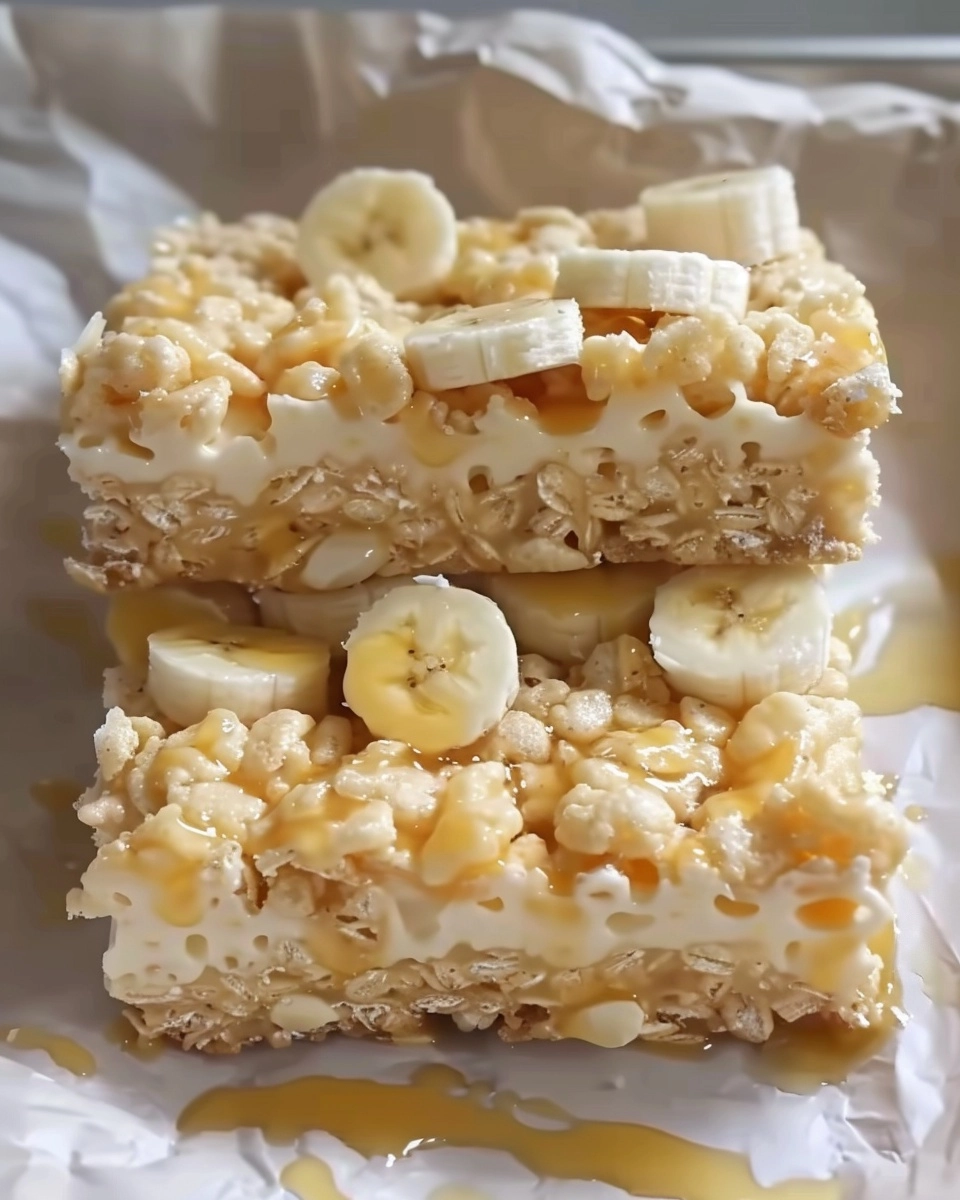
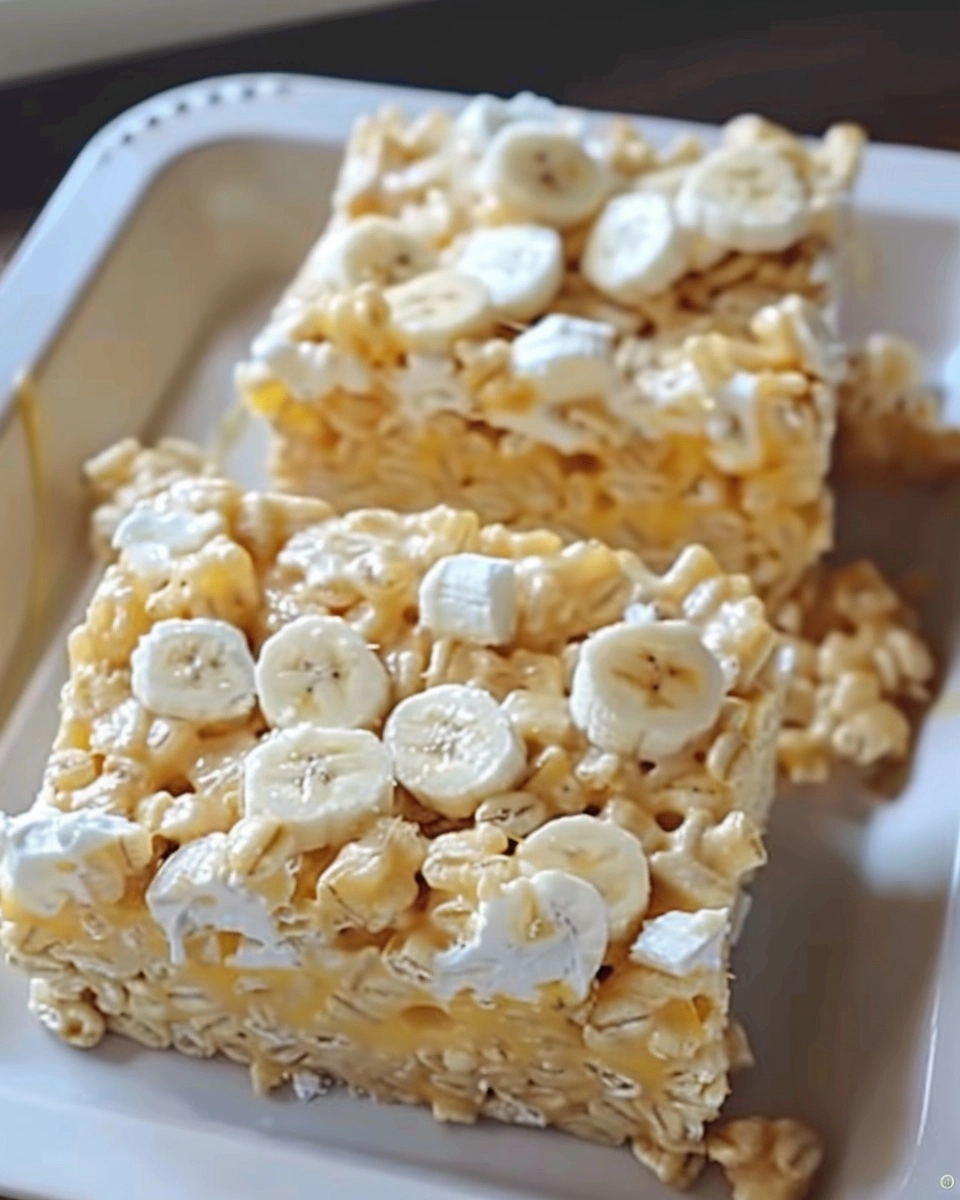
Creamy banana pudding meets crispy Rice Krispies in these dreamy no-bake bars—perfect for potlucks, lunchboxes, or a sweet afternoon snack!

Ingredients You’ll Need
With just a few pantry basics and an irresistible twist, you’ll have everything you need for these magical Banana Pudding Rice Krispies Bars. Each ingredient plays a unique role, bringing its own taste and texture to turn this into an unforgettable treat.
- Rice Krispies cereal: The classic base, bringing that iconic airy crunch every bar needs.
- Instant banana pudding mix: Secret to packing in that creamy banana flavor without any fuss.
- Powdered sugar: Adds gentle sweetness and helps the flavor pop — just a little is plenty!
- Mini marshmallows: The glue and heart of the bars, keeping everything tender and chewy.
- Unsalted butter: For a rich, smooth taste that ties all the ingredients together.
- Vanilla extract: Boosts the pudding flavor and makes the bars extra aromatic.
- Crushed vanilla wafers: Adds that classic banana pudding vibe, with sweet buttery crunch in every bite.
- Optional: sliced bananas or white chocolate drizzle: Perfect for jazzing up the bars when you want to serve them extra special.
How to Make Banana Pudding Rice Krispies Bars
Step 1: Prep Your Pan
Start by greasing a 9×13-inch baking dish with a swipe of butter or a mist of non-stick spray. This simple step makes it so much easier to lift and cut your Banana Pudding Rice Krispies Bars later, keeping every square neat and pretty.
Step 2: Mix the Dry Ingredients
Grab your largest mixing bowl and pour in the Rice Krispies cereal, instant banana pudding mix, and powdered sugar. Gently toss or stir everything together to make sure the pudding mix and sugar are evenly distributed—the sweet banana aroma will hit you right away!
Step 3: Melt Butter and Marshmallows
In a sturdy saucepan, melt the butter over medium heat, then add all the mini marshmallows. Stir steadily so the marshmallows fully melt and turn glossy and smooth without burning. Once everything’s melted, remove the pan from heat and stir in the vanilla extract.
Step 4: Combine Everything
Pour the warm marshmallow mixture over your bowl of cereal and dry ingredients. Work quickly, using a spatula or big spoon to fold and coat all the Rice Krispies evenly—be gentle so the cereal stays nice and puffy but thorough so every bit gets that sweet, gooey coating.
Step 5: Add Crushed Vanilla Wafers
Sprinkle in the crushed vanilla wafers, folding them in gently. The wafers will add those blissful little nibbles of flavor and crunch, giving your bars that delightful banana pudding essence in every square.
Step 6: Press Into the Pan
Transfer the mixture into your prepared baking dish. Use a spatula, buttered parchment, or even damp hands to gently press the mixture into an even layer. Don’t compact it too tightly—just enough so the bars hold together but stay light and chewy.
Step 7: Top and Set
If you’re feeling fancy, melt some white chocolate chips and drizzle over the top for a lovely finish. Or, press a few banana slices gently into the surface for that classic pudding look. Let the bars cool completely at room temperature before cutting them into perfect squares and serving up the smiles.
How to Serve Banana Pudding Rice Krispies Bars
Garnishes
A flourish of white chocolate drizzle gives each bar a gorgeous, bakery-style look, while thinly sliced bananas add a fresh, creamy contrast right on top. Sprinkle some extra crushed vanilla wafers or a dusting of powdered sugar for a bar that truly wows, both in looks and taste.
Side Dishes
Pair these bars with a scoop of vanilla ice cream or a dollop of freshly whipped cream for a dessert platter that tastes like summer. They’re also lovely alongside a vibrant fruit salad, which complements the sweet, creamy banana flavor in a super-refreshing way.
Creative Ways to Present
Try cutting your Banana Pudding Rice Krispies Bars into fun shapes with cookie cutters, then threading them onto skewers for a party-ready treat. For a truly stunning dessert tray, layer squares in colorful cupcake liners or pack them into mason jars with a few banana chips for an adorable edible gift.
Make Ahead and Storage
Storing Leftovers
These bars will stay fresh for several days if you cover them tightly with plastic wrap or store them in an airtight container at room temperature. If you’ve used banana slices on top, keep them refrigerated to maintain freshness and prevent browning.
Freezing
To freeze, separate the bars with parchment paper and seal them in a zip-top bag or container. They’ll keep well for up to 2 months—just thaw at room temperature before serving, and avoid adding fresh banana slices prior to freezing.
Reheating
There’s no need to reheat Banana Pudding Rice Krispies Bars, but if you love a gooey treat, 5–10 seconds in the microwave will make them soft and melty again. Warm slices are especially dreamy with cold ice cream on the side!
FAQs
Can I use regular marshmallows instead of mini?
Absolutely! Just chop larger marshmallows into smaller pieces so they melt more quickly and evenly, or simply allow for extra melting time while stirring constantly to avoid scorching.
Will the bars still taste good without the optional toppings?
Definitely—the bars themselves are rich in banana pudding flavor and perfectly sweet on their own. Toppings just add a little extra flair and fun, but skip them if you want a more classic treat.
Is it possible to make these gluten-free?
Yes! Just be sure to use certified gluten-free Rice Krispies and vanilla wafers—everything else in the Banana Pudding Rice Krispies Bars recipe is naturally gluten-free.
How long do the bars need to set before serving?
Let them cool at room temperature for about 30–45 minutes so they fully set and slice easily. For a super clean cut, you can pop them in the fridge for 15 minutes before serving.
Can I add other mix-ins to the bars?
Of course! Mini chocolate chips, chopped candied nuts, or even a touch of shredded coconut would blend well, making your bars uniquely your own while still letting that banana pudding flavor shine.
Final Thoughts
If you’re searching for a dessert that’s equal parts playful, comforting, and a little bit nostalgic, you simply have to try Banana Pudding Rice Krispies Bars. They come together in a snap, taste like a sunny day in every bite, and I can almost guarantee you’ll be making them again and again. Gather your ingredients and let the good times roll!
Print
Banana Pudding Rice Krispies Bars Recipe
- Total Time: 25 minutes
- Yield: 20 bars 1x
- Diet: Vegetarian
Description
Creamy banana pudding meets crispy Rice Krispies in these dreamy no-bake bars—perfect for potlucks, lunchboxes, or a sweet afternoon snack!
Ingredients
Cereal Base
- 6 cups Rice Krispies cereal
- 1 (3.4 oz) box instant banana pudding mix (dry)
- 1/4 cup powdered sugar
Marshmallow Mixture
- 4 Tbsp unsalted butter
- 10 oz mini marshmallows (about 5 cups)
- 1/2 tsp vanilla extract
Add-ins & Toppings
- 1/2 cup crushed vanilla wafers
- Optional: sliced bananas
- Optional: melted white chocolate (for drizzling)
Instructions
- Prep the Pan: Grease a 9×13‑inch baking dish with butter or non‑stick cooking spray, ensuring the entire surface and edges are well-coated to prevent sticking.
- Mix the Dry Ingredients: In a large mixing bowl, combine the Rice Krispies cereal, dry banana pudding mix, and powdered sugar. Toss together until the pudding and sugar are thoroughly distributed among the cereal.
- Melt the Marshmallow Mixture: In a large saucepan over medium heat, melt the butter, then add the mini marshmallows. Stir constantly until the marshmallows are completely melted and the mixture is smooth. Remove the pan from the heat and stir in the vanilla extract.
- Combine Wet and Dry: Quickly pour the hot marshmallow mixture over the cereal mixture. Use a sturdy spatula to fold and stir until all the Rice Krispies are evenly coated and the mixture becomes sticky and cohesive.
- Add the Wafers: Gently fold in the crushed vanilla wafers, distributing them throughout the mixture without over-mixing, to preserve some crunch.
- Press into Pan: Transfer the mixture to the prepared baking dish. Using lightly buttered hands or a spatula, press it evenly into the pan without packing it down too firmly, which helps keep the bars tender and chewy.
- Add Optional Toppings: If desired, drizzle with melted white chocolate and/or gently press sliced bananas over the top to enhance the banana flavor.
- Cool and Serve: Let the bars cool to room temperature in the pan. Once set, cut into squares and serve. Enjoy!
Notes
- For best texture, don’t compact the mixture too firmly in the pan.
- If using sliced bananas, serve the bars the same day to prevent browning.
- The bars keep best when stored in an airtight container at room temperature for up to 3 days (without fresh bananas).
- You can substitute banana pudding mix with other pudding flavors for fun variations.
- Prep Time: 15 minutes
- Cook Time: 10 minutes
- Category: Desserts
- Method: No-cook
- Cuisine: American
Nutrition
- Serving Size: 1 bar
- Calories: 220
- Sugar: 13g
- Sodium: 160mg
- Fat: 5g
- Saturated Fat: 3g
- Unsaturated Fat: 2g
- Trans Fat: 0g
- Carbohydrates: 40g
- Fiber: 0g
- Protein: 2g
- Cholesterol: 8mg